
Gluten Free Cake Pops

These are a fun little project to do with your kids next time you find yourself with some extra cake! The best part? You can use boxed cake mix and canned frosting! They take about an hour from start to finish (without a few little helping hands) and are sure to POP out at any event!
Notes:
- I used a boxed cake and canned frosting for this recipe, but you can definitely use a homemade cake. If you end up using your own recipe for cake, you may need to adjust the amount of frosting added.
- If using a "white" (or vanilla, because white is not a flavor) boxed cake mix, try using all egg whites and one extra instead of whole eggs. (calls for 3 whole eggs, use 4 egg whites) Doing this creates a fluffier texture and lighter color.
- I also used candy melts for the coating to produce a shiny look. Chocolate chips can be used instead of candy melts, but it will bloom, or look dull after a few hours.
- If the candy melts do not flow smoothly when melted, you can add vegetable oil 1 teaspoon at a time until it can be drizzled over the chocolate and it partially melts back in.

Ingredients
1 ea pre-made cake
1/4 c frosting
candy melts
sucker sticks
optional:
sprinkles
mini paper candy cups

1. Beat the cake with a mixer until it forms a fine crumb. The finer the cake is, the smoother the texture will be in the end.

2. Add the frosting and mix until it resembles cookie dough. At this point you can add in some sprinkles if desired. Non perils work best to keep a smooth texture, but make sure to only mix until incorporated to prevent them from bleeding into the cake and creating a muddy look.
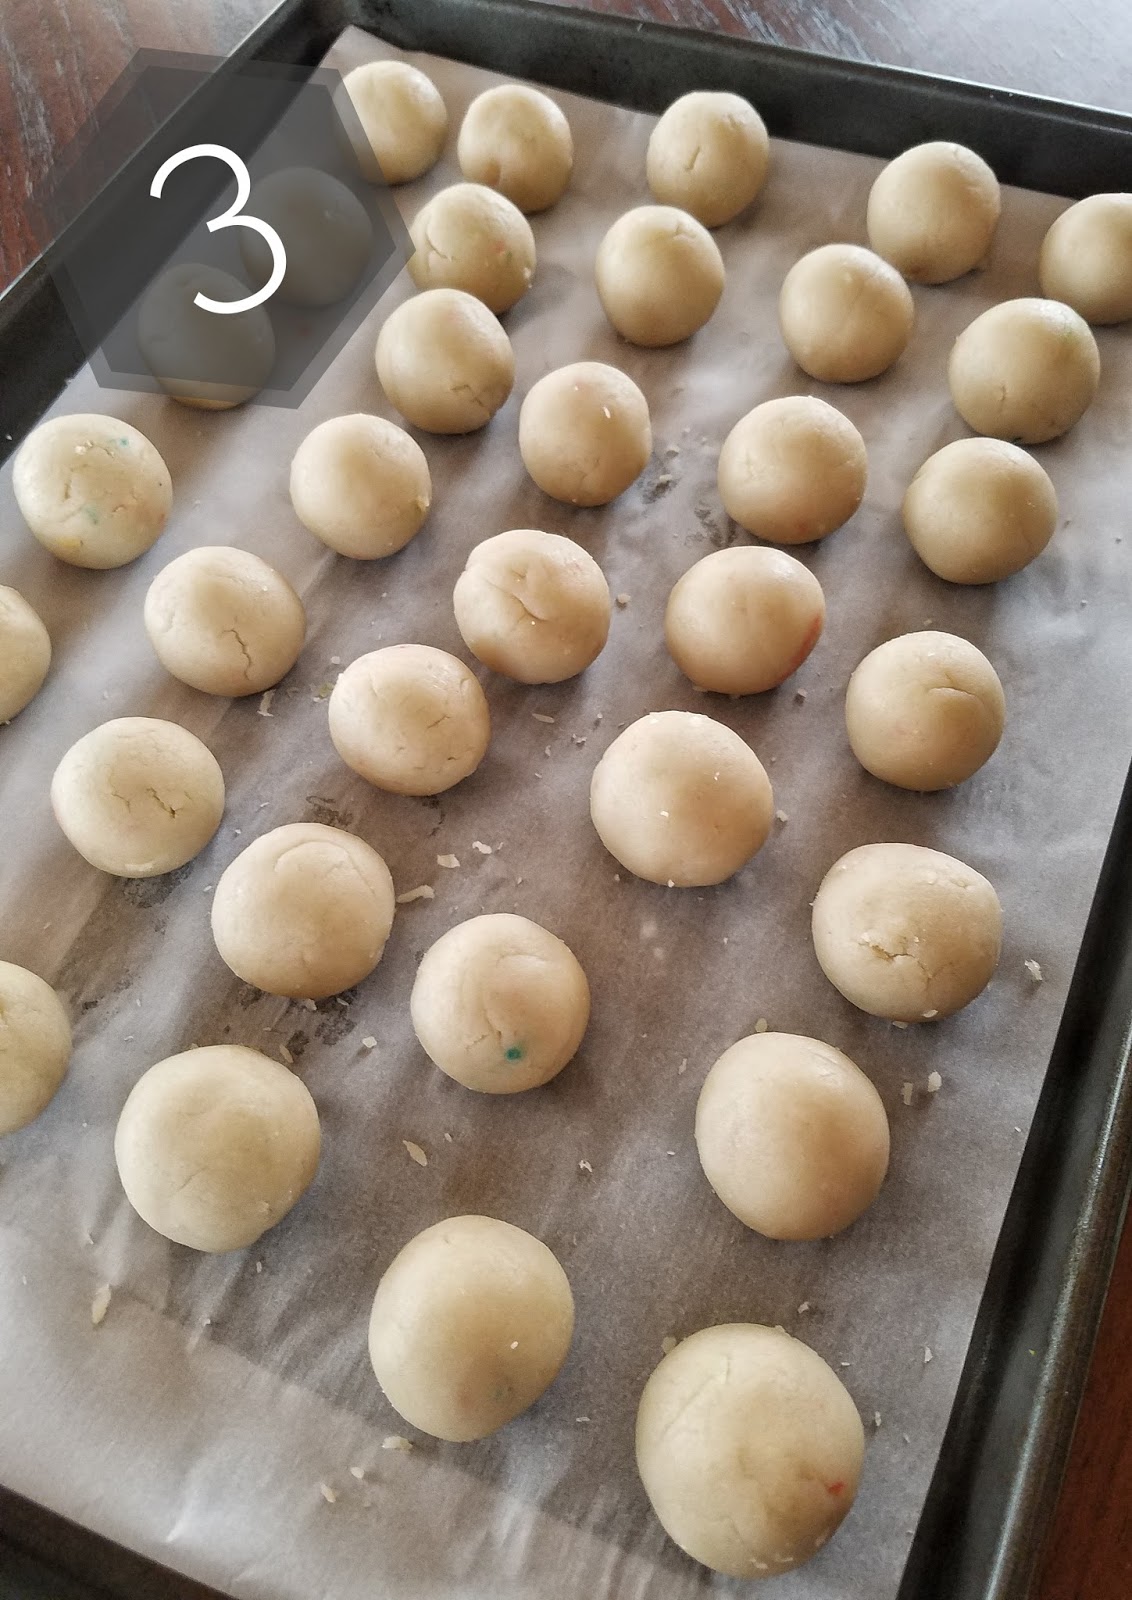
3. Scoop the mixture into evenly sized pieces and roll into a sphere shape. Since the mixture will still be a bit crumbly, you may need to squish it a bit before rolling it.
- At this point the balls can be frozen and stored to be dipped at a later time, just make sure to defrost the pops completely.

4. Dip the very end of the sucker sticks in the melted "chocolate" and stick into the pops, making sure to press the sticks all the way down.

5. Once the chocolate is dry, dip the pop into the melted chocolate and let the excess pour off. You can gently jiggle the stick to quicken the process, but be careful not to shake to hard or it may slip off.
- If the pop does slip off, just squish it back together, re-roll it, and stick it again.
 - To prevent a foot from forming due too excess chocolate, try flipping it upside down and holding it there until it starts to get cloudy, then set on some parchment. I use a piece of foam to hold them upside down in order to do multiple at one time.

6. Once the chocolate dries, you can decorate any way you like! I drizzled some of them with extra chocolate in a piping bag and sprinkled non perils on the wet chocolate.
- Are you throwing a princess themed party? Try making them into fairy wands by dusting them with edible pearl dust from your local craft store while the chocolate is semi-wet.
- Try changing up the color of your paper cups! There are plenty of different prints and colors to fit any party theme. Plus it makes serving them a breeze!
I know this wasn't the most elegantly worded post, but thank you so much for checking my post out! Let me know in the comments how yours turn out! Questions, comments, concerns, or puns? Drop them in the comments section!
Comments
Post a Comment